Engineering

Zak Dillon

·

Mar 15, 2023

How and when to use XPC services

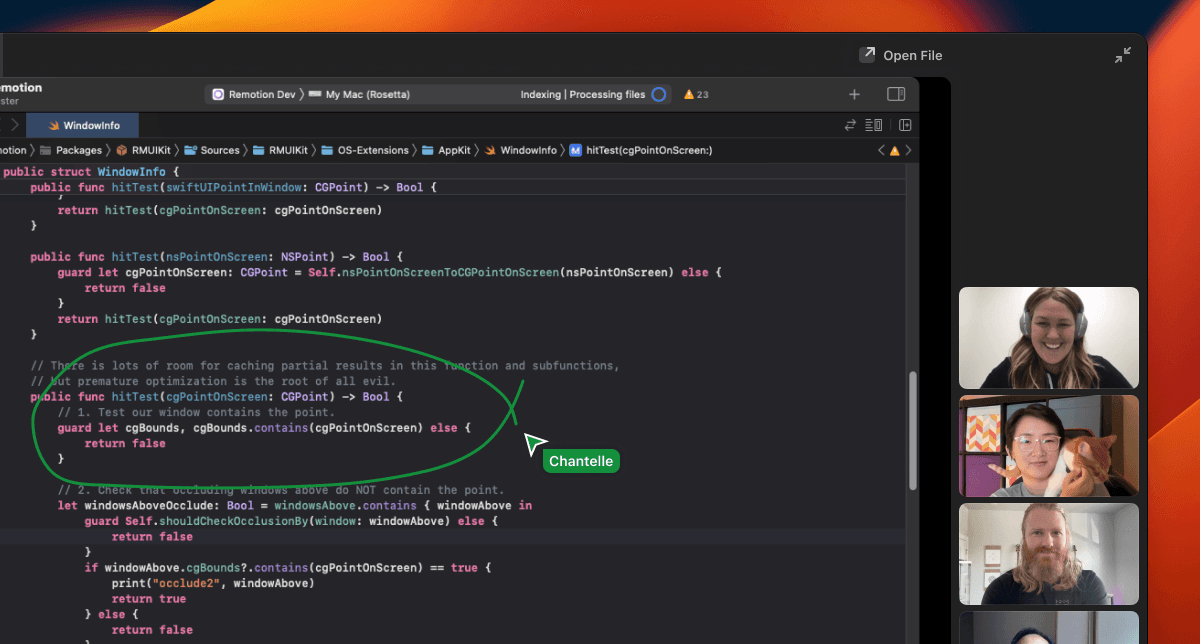
What is an XPC Service? How can it benefit my app? Should I use one? Remotion uses an XPC service to overlay shared content. It's where we render cursors, drawing, and more:

Drawing in Remotion

Why we decided to use XPC

At Remotion, we're building on the Zoom Video SDK, which is known for its reliability and high performance. The SDK includes an optimization that detects if shared content is being occluded by Remotion.app, and if it is, it does not send any frames. While in most cases, this saves on user CPU and bandwidth, it prevented us from drawing cursor events, such as clicks or drawings, into an overlay over the shared content. We worked around this issue by rendering our overlay in a separate process.

Secondly, macOS will only allow overlaying a window over a full screen application if the window is owned by an application with NSApplication.ActivationPolicy set to .accessory. Since we allow our users to use the app in .regular mode, separating the overlay from the main app saves us from having to dynamically update the activation policy when overlaying full screen apps.

What is an XPC Service?

Let's begin by discussing what an XPC service is. XPC Services is an API provided by Apple that enables simple interprocess communication. We use this API to create XPC services: tools that run on different processes and can perform work on behalf of our app.

XPC Services advantages

XPC services are effective tools for diagnostic reporting, helper functions (such as machine learning, editing, and rendering), and for working around limitations in third-party libraries. A helpful side effect of XPC services is that if the external process crashes, it won't affect your host process. Whether this is advantageous or not depends on the situation, but it's worth noting.

XPC Services limitations

XPC services have one major limitation: they do not accept user interaction. This may be a deal breaker for you. You can use an external process to show UI. The external process can have its own window hierarchy and use SwiftUI, but the user cannot interact with anything in the external process. UI elements such as buttons or sliders will not accept mouse or keyboard events.

How to create an XPC Service connection

If you are reading this and have no idea how to create an XPC service, don't worry! Let's quickly go over how to establish an XPC service connection.

1. Set up the Info.plist

You'll need to alter the Info.plist for your external process. For more information, run man xpcservice.plist in Terminal. Here is an example of our plist:

<?xmI version="1.0" encoding= "UTF-8'?>
<!DOCTYPE plist PUBLIC "-/ /Apple//DTD PLIST 1. 0//EN' " <http://www.apple.com/DTDs/PropertyList-1.0.dtd>">
<plist version="1.0">
<dict>
  <key>XPCService</key>
  ‹dict>
    <key>JoinExistingSession</key>
    <true/>
    <key> ServiceType</key>
    <string>Application</string>
    <key>RunLoopType</ key>
    <string>NSRunLoop</string>
  </dict>
</dict>
</plist

  • We need to call window APIs like CGWindowListCopyWindowInfo, so we set JoinExistingSession to true. See this Apple Developer Forum Post for more detail on why.

  • We need to call main thread APIs to render UI, so we set RunLoopType to NSRunLoop.

2. Create the protocol

Next, decide what this service will do by creating a protocol. Note that both the host process and the external process will need to reference this protocol. Put this protocol in a package that is shared by both processes.

/// The protocol that this service will vend as its API. This protocol will also need to be visible to the process hosting the service.
@objo public protocol XPCExampleProtocol {
  func doSomething()
  func doSomethingElse()
}

3. Create the exported object

Our main process will interact with external process through something called the exported object. This object implements the protocol we have defined and provides the actual behavior for the service. The service "exports" it to make it available to the process hosting the service over an NSXPCConnection. Create this object in the external process.

/// This object implements the protocol which we have defined.
/// It provides the actual behavior for the service.
/// It is 'exported' by the service to make it available to the
/// process hosting the service over an NSXPCConnection.
public class XPCExampleObject: NSObject, XPCExampleProtocol {
  // For this example, we'll use a singleton
  public static let shared = XPCExampleObject ( )
  
  // Protocol adherence
  public func dosomething () { /* Something */ }
  
  // Protocol adherence
  public func dosomethingElse ( ) { /* Something else */ }
}

4. Create the service delegate

This essentially functions as “main” for your external process. This sets up the bridge between the host process and the external process.

/// This essentially functions as main' for your external process
class XPCServiceDelegate: NSObject, NSXPCListenerDelegate {
  /// This method is where the NSXPCListener configures, accepts,
  /// and resumes a new incoming NSXPCConnection.
  func listener(_: NSXPCListener,
  shouldAcceptNewConnection newConnection: NSXPCConnection) -> Bool {
    // Configure the connection.
    // First, set the interface that the exported object implements
    newConnection.exportedInterface
    = NSXPCInterface (with: XPCExampleProtocol.self)
    
    // Next, set the object that the connection exports.
    // All messages sent on the connection to this service will be
    // sent to the exported object to handle.
    // The connection retains the exported object.
    let exportedObject = XPCExampleObject. shared
    newConnection.exportedObject = exportedObject
    
    // Resuming the connection allows the system to deliver more
    // incoming messages.
    newConnection.resume()
    
    // Returning true from this method tells the system that you have
    // accepted this connection.
    // If you want to reject the connection for some reason, call
    // invalidate() on the connection and return false.
    return true
  }
}

// Create the delegate for the service.
let delegate = XPCServiceDelegate ( )
// Set up the one NSXPCListener for this service. It will handle all
// incoming connections.
let listener = NSXPCListener.service ( )
listener.delegate = delegate
// Resuming the serviceListener starts this service. This method does
// not return.
listener.resume ()

5. Create the connection

Inside your main process, create a manager responsible for starting, using, and stopping the NSXPCConnection. This is created in the host process.

public class HostAppXPCManager {
  // Hold a reference to the xpc connection
  private var exampleXPCConnection: NSXPCConnection?
  
  // A convenience variable for accessing the XPC's remote0b jectProxy
  public var proxy: XPCExampleProtocol? {
    exampleXPCConnection?.remoteObjectProxy as? XPCExampleProtocol
  }
  
  public init () {}
  
  public func startXPCConnection ( ) {
    // Make sure we don't already have a connection going 
    guard exampleXPCConnection == nil else { return }
    
    // Create the connection 
    let connectionToService
      = NSXPCConnection(serviceName: "com.yourService . name" )
    connectionToService.remoteObjectInterface
      = NSXPCInterface (with: XPCExampleProtocol.self)
    connectionToService.resume ( )
    
      // Set
    exampleXPCConnection = connectionToService
  }
  
  public func stopXPCConnection () {
    // Invalidate and destroy the connection
    exampleXPCConnection?.invalidate ( )
    exampleXPCConnection = nil
  }
}

6. Use the XPC Service in your main process

Now that you have all the components, it’s time to use it in your host process!

// Create the manager
let xpcManager = HostAppXPCManager()

// Start the connection
xpcManager.startXPCConnection()

// Interact with the process via XPC Services
xpcManager.proxy?.doSomething()
xpcManager.proxy?.doSomethingElse()

// When you no longer need the XPCServiceConnection, shut it down 
xpcManager.stopXPCConnection()

Conclusion

Although it has its limitations, we found the XPC Services API to be very helpful in navigating around the Zoom Video SDK. Once you understand how simple it can be to leverage XPC services, it opens up many doors for other ways to use it.

Let us know what you think! In what cases have you found XPC services to be helpful?

Learn more about XPC Services in Apple's official documentation:

https://developer.apple.com/documentation/xpc

https://developer.apple.com/library/archive/documentation/MacOSX/Conceptual/BPSystemStartup/Chapters/CreatingXPCServices.html

Engineering

Zak Dillon

Mar 15, 2023

·

How and when to use XPC services

© Multi Software Co. 2024

© Multi Software Co. 2024